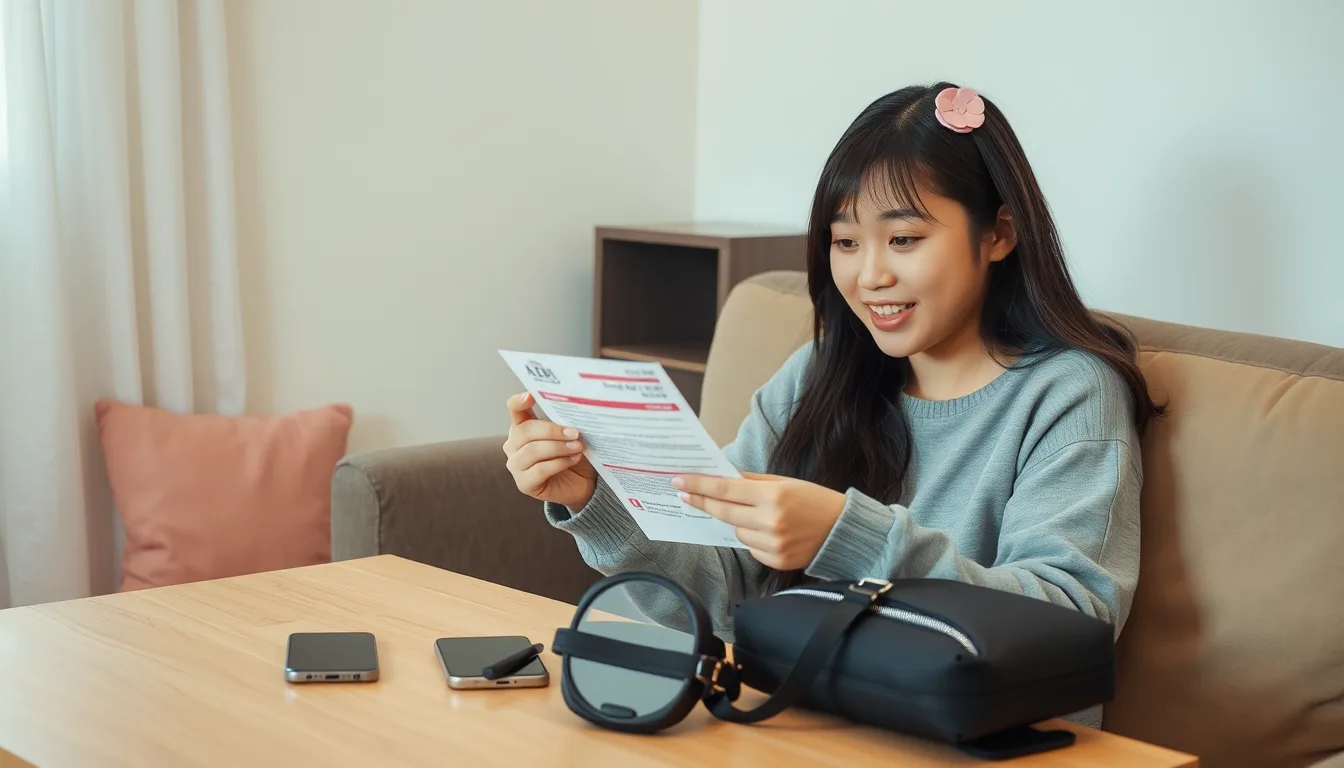
The best K-pop concert memories come from being present, not from solving avoidable problems in the queue. This K-pop step-by-step checklist takes you from ticket confirmation to the final encore, with enough flexibility for different venues, artists, and countries.
Use it as a planning guide, then confirm event-specific details with the official artist, promoter, venue, and ticket seller. Their instructions take priority, especially for entry rules, bag limits, ticket transfer, light-stick use, and prohibited items.
1. Confirm the essentials before you spend
- Check the event identity. Confirm the artist, city, venue, date, start time, and ticket platform. Watch for similarly named events or unofficial listings.
- Read the ticket conditions. Save the confirmation email and review whether the ticket is mobile-only, personalized, transferable, refundable, or restricted to the original purchaser.
- Map the journey. Work out your route to the venue, a realistic arrival window, and a backup plan if public transport is delayed. If you are travelling overnight or across borders, confirm accommodation and required documents separately.
- Check venue rules. Bag size, cameras, banners, food, batteries, professional equipment, and outside light sticks may be regulated. Do not rely on advice from an old tour stop.
- Set a spending limit. Include transport, food, merchandise, fees, and a small emergency buffer rather than budgeting for the ticket alone.
2. Build your concert-day kit
Pack for the venue’s actual rules, not for every possible scenario. Keep essentials easy to reach and avoid bringing anything that could slow security screening.
- Official ticket or event app, with the account login available if required
- Charged phone and a small power bank, if permitted
- Photo ID when the ticket terms require it
- Earplugs, water if the venue allows it, and any personal medication
- Comfortable shoes and a light layer for queues or changing temperatures
- Light stick, spare batteries, or charging accessories only when allowed
- A compact wallet and a written emergency contact, particularly for younger attendees
3. Handle merch and fan projects carefully
Decide in advance which merchandise is a priority. Queues, stock limits, and payment methods can vary, so treat official event announcements as the reliable source. Fan-made freebies and banners are often welcome, but never block aisles, exits, sightlines, or another fan’s view.
4. Use this show-day sequence
- Before leaving: Charge devices, check the official event update, confirm your ticket opens correctly, and tell someone your route if you are attending alone.
- At the venue: Follow signs and staff instructions. Join the correct line, keep your ticket ready, and ask staff rather than guessing about a problem.
- Inside: Find your seat or standing area, locate restrooms and exits, and agree on a meeting point with friends in case phones lose signal.
- During the performance: Enjoy the show without recording every song. Keep phones, signs, and light sticks within the venue’s expectations, and never touch performers or enter restricted areas.
- Leaving: Move patiently, check that you have your belongings, and use your planned route. If transport has ended, choose a safe staffed location while arranging an approved alternative.
5. Close the loop after the encore
Save receipts, note any ticket or venue issue while details are fresh, and report safety concerns through the official channel. If you share photos or clips, check the event’s rules and respect fans who do not want to appear in your posts.
A good K-pop concert checklist is not about carrying more. It is about confirming the right details early, leaving room for surprises, and making the night easier for everyone around you.